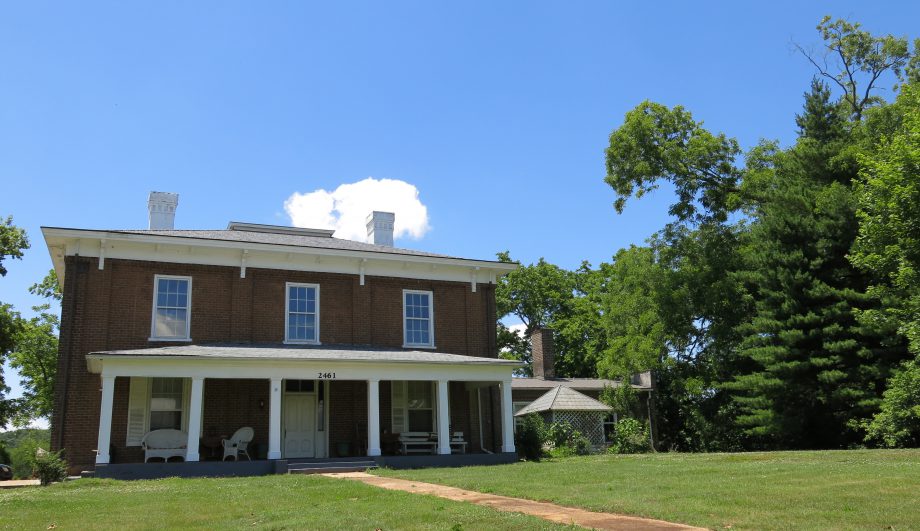
I knew eventually I was going to have to get a new roof and fix the box gutters, but it wasn’t a priority until the tornado came through in the spring of this year. Though it didn’t do any heavy damage, it did take off a few dozen shingles from both the first and second floor roofs, as well as rip out the rubber lining of the box gutters on the south side of the house. So needless to say, starting on the top became a priority.
I had quite a time finding someone to re-line the built-in box gutters on the upper roof. A “box gutter” is basically a built-in gutter system that’s integrated into the roof or eave structure, which is generally difficult to maintain and hard to repair. It’s basically a wood trough – in my case part of the large corbled eave – which is lined with some sort of metal or rubber. I talked with several companies and copper workers who either didn’t want to do it, or didn’t want to do it in a way that would be guaranteed to last. Fortunately the guys over at Drain-Right had a great solution, though of course it came with a high price tag. But since they guaranteed their work and the product they used for 10 years, and would be able to re-coat and re-guarantee for 10 years after that, I thought it was worth it.
I had wanted to go with a simple copper or lead lining as that would be the most authentic option. But I was talked out of this by more than one metal worker who told me that with this particular gutter, copper wouldn’t last as long as I wanted it to for various reasons. One of which was the possible corrosion due to the type of metal roofing we were going to have installed. The solution ended up being a “rubberized” aluminum gutter liner with a decorative copper drip edge. They had to use a company in Atlanta to fabricate the size of aluminum trough I would need. It was screwed into place and all of the screws and seams heavily caulked. After that, latex soaked fabric strips were adhered to the seams and edges of the aluminum to seal everything down. Following that a thick rubber coating was applied three times to all of the gutter surfaces. Now, everything is water tight and corrosion resistant. The rubber coating product that was used has a warranty of ten years. After that we can pressure wash the surface and apply another coat which would have another ten-year warranty.
NOTE: The videos below were my first experiments with my new Pivothead camera glasses ( http://pivothead.com/ ) so I apologize for the quick jerky movements… if you get motion sickness be forwarned!
Since I wasn’t around for much of the re-roofing that happened after the gutter was completed I don’t have many pictures of the transformation, but as you can see it’s much improved!
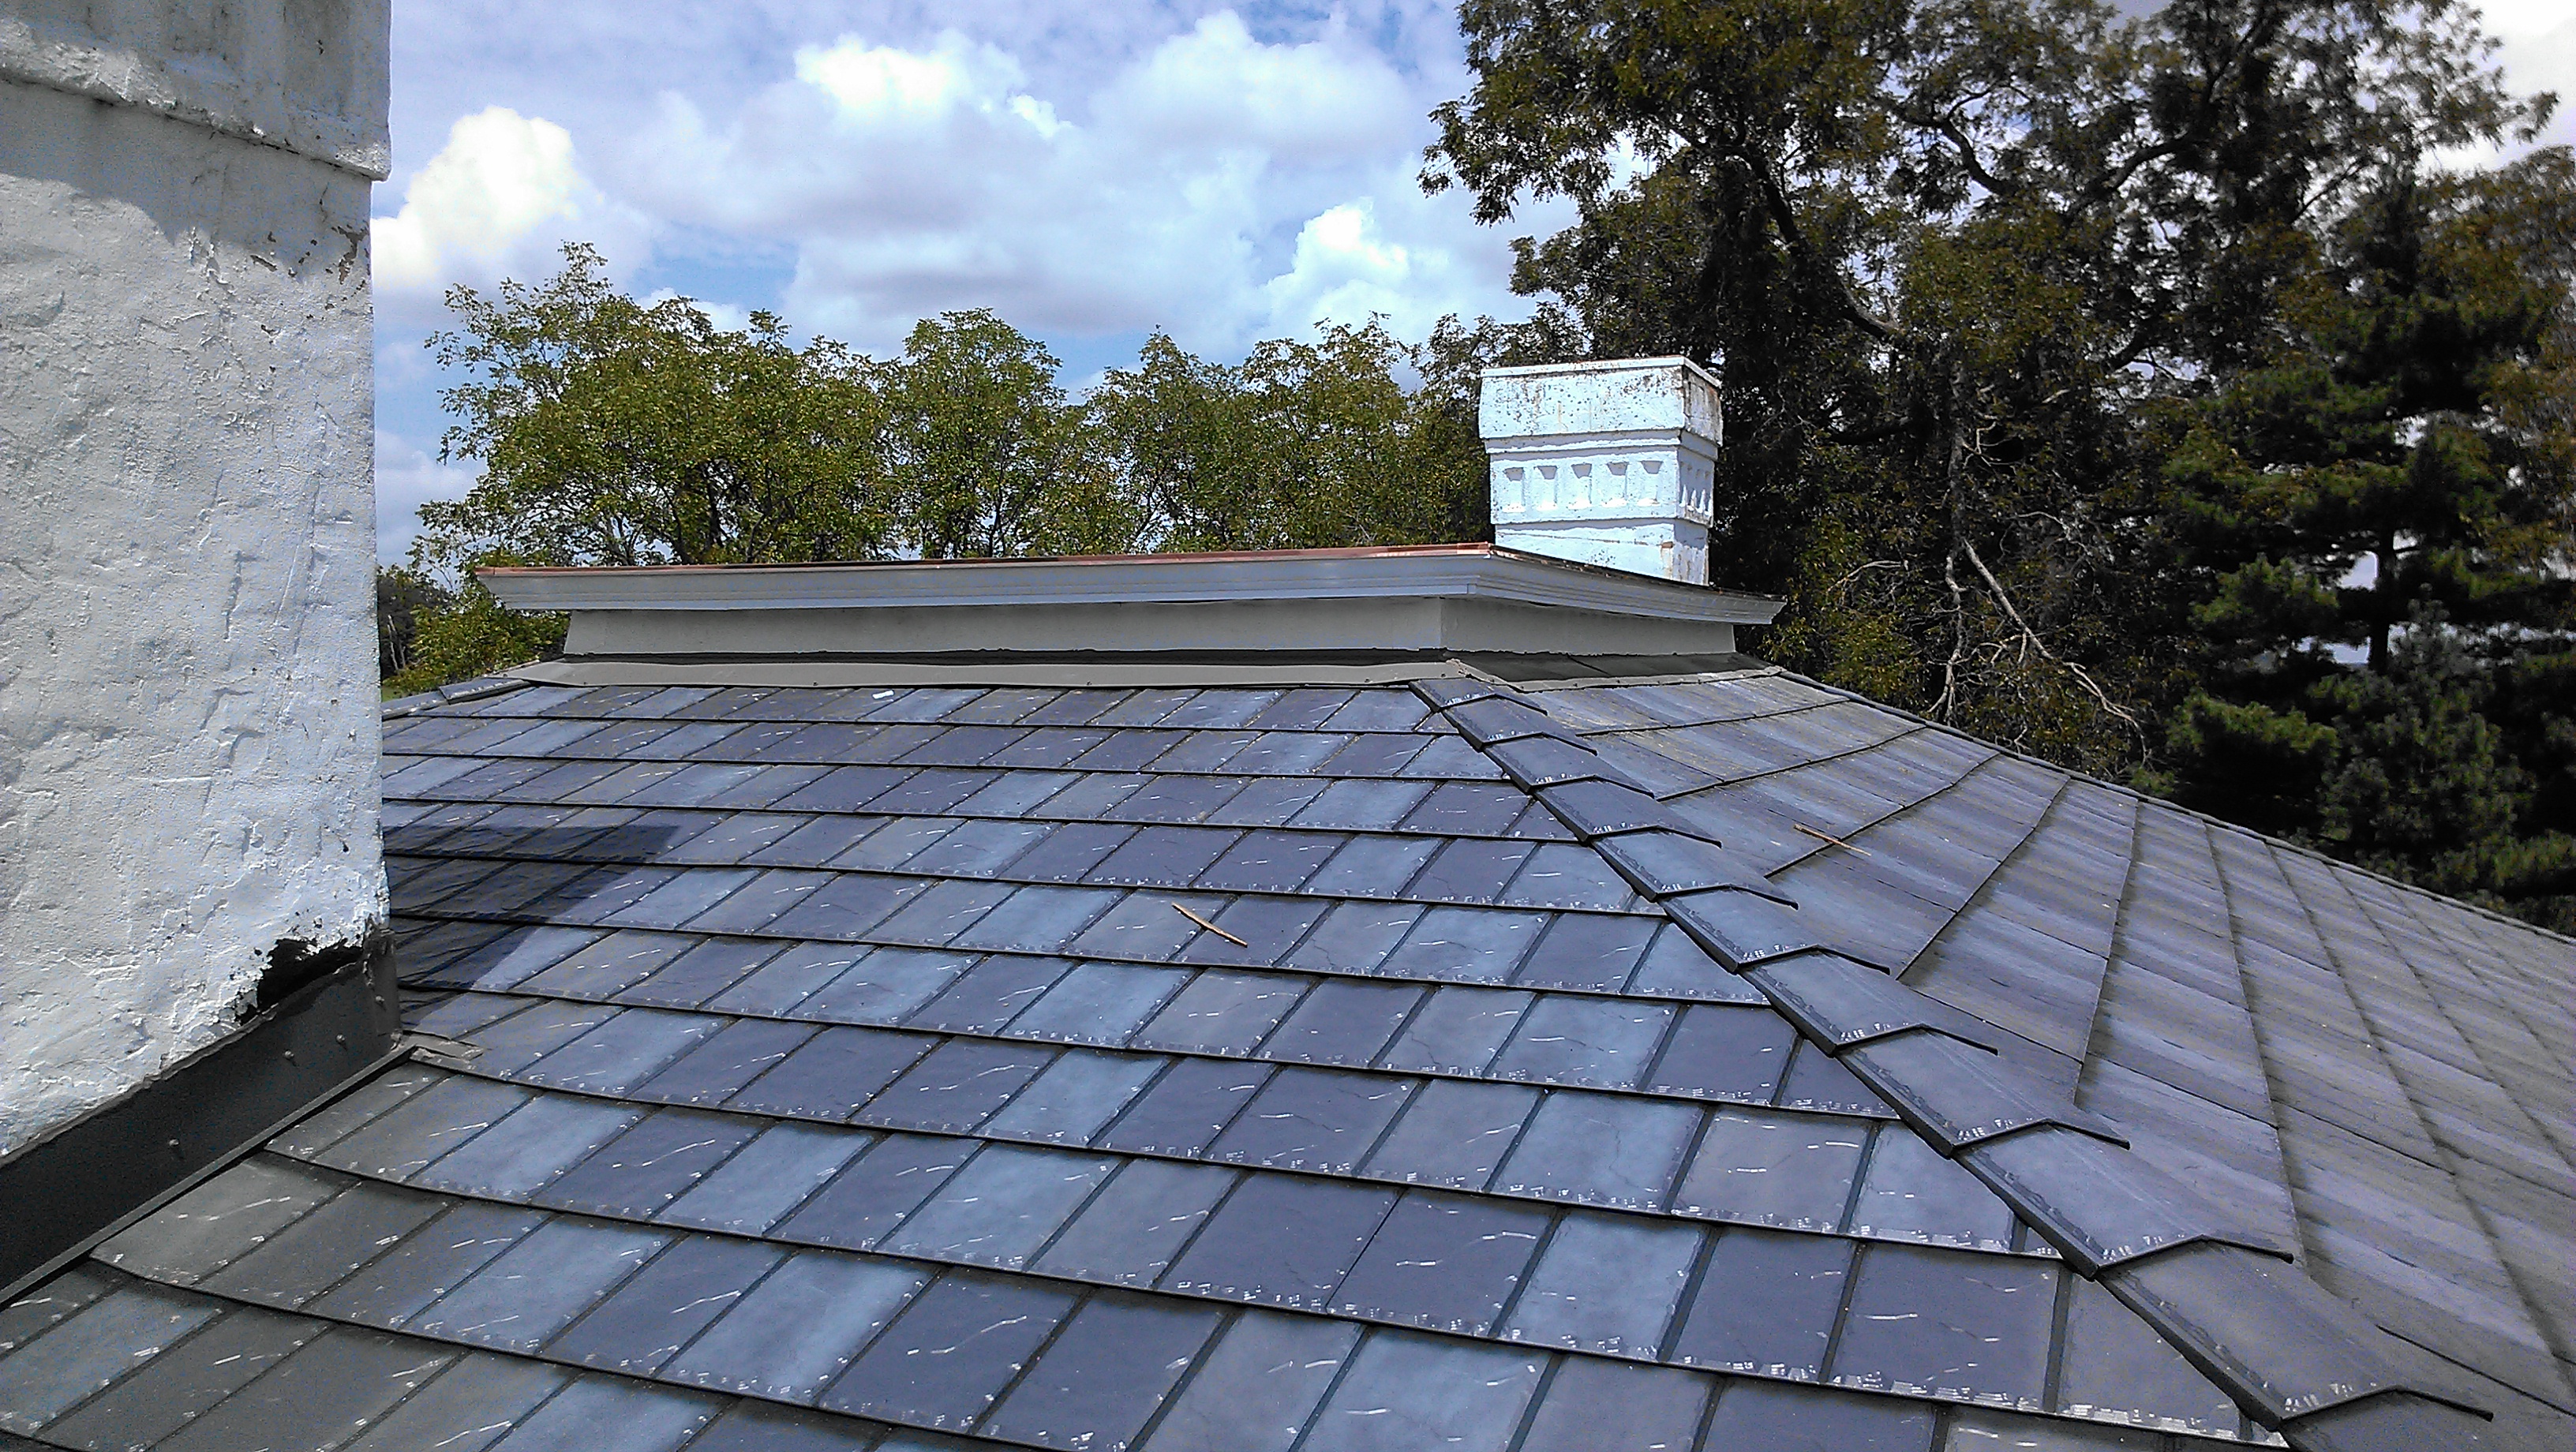
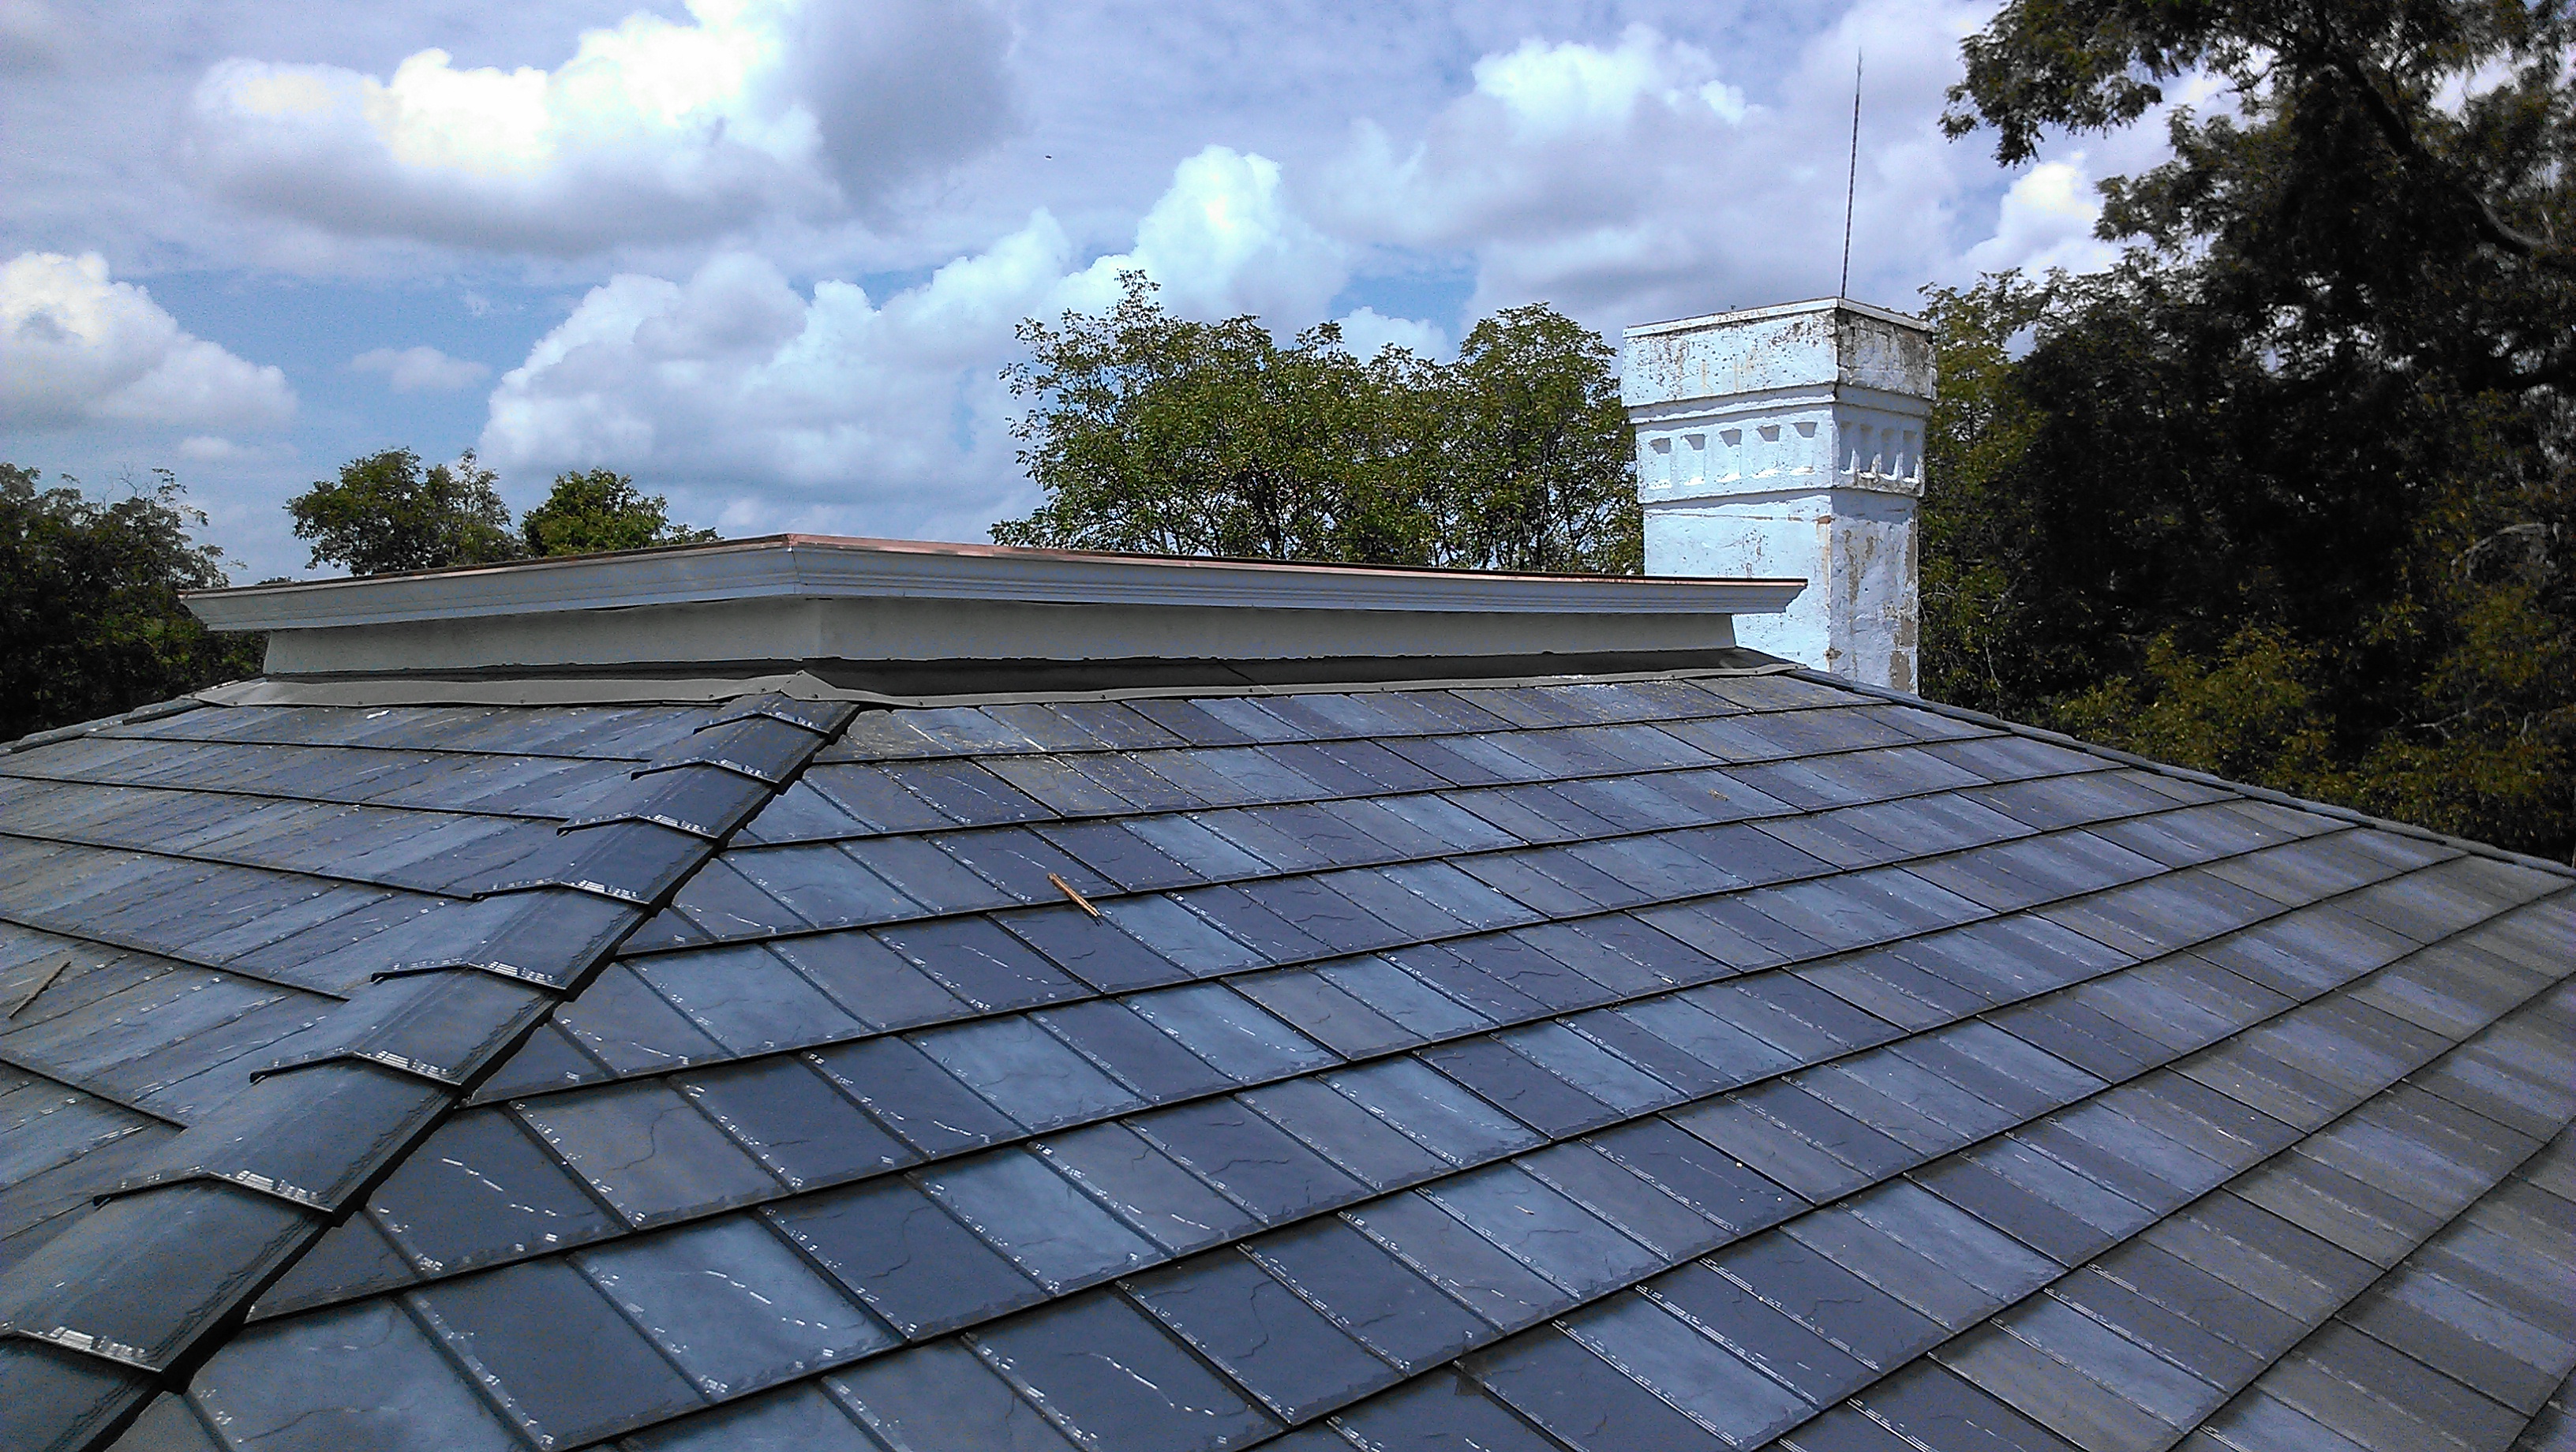
When trying to decide on what type of roof to put on, I was basically trying to find something that would look period, but have the greatest longevity. Asphalt shingles were out, and though it is possible that sheet metal could have been used when the house was built, it was unlikely due to the decking used and I didn’t think I would be happy with the final look. The other two feasible options were either a metal shingle, which is what was already on the house and possibly always was, or slate – either real or synthetic. I loved the idea of slate but both the cost, as well as the added weight of the final roof, made it prohibitive. All of the info I found on synthetic slate was disappointing when longevity was concerned. So we were down to some type of metal shingle. I looked into reproduction decorative shingles which were used in the mid 19th century, but none of them carried with them a decent warranty, which was pretty important to me. As it turns out Best Buy Metals in Cleveland is a supplier of a type of slate-look steel shingle with an enamel finish which carried a lifetime guarantee. It was more expensive than some of the other options out there but it looked great and felt pretty confident that barring another act of nature, I wouldn’t have to re-roof in my lifetime…. we’ll see!
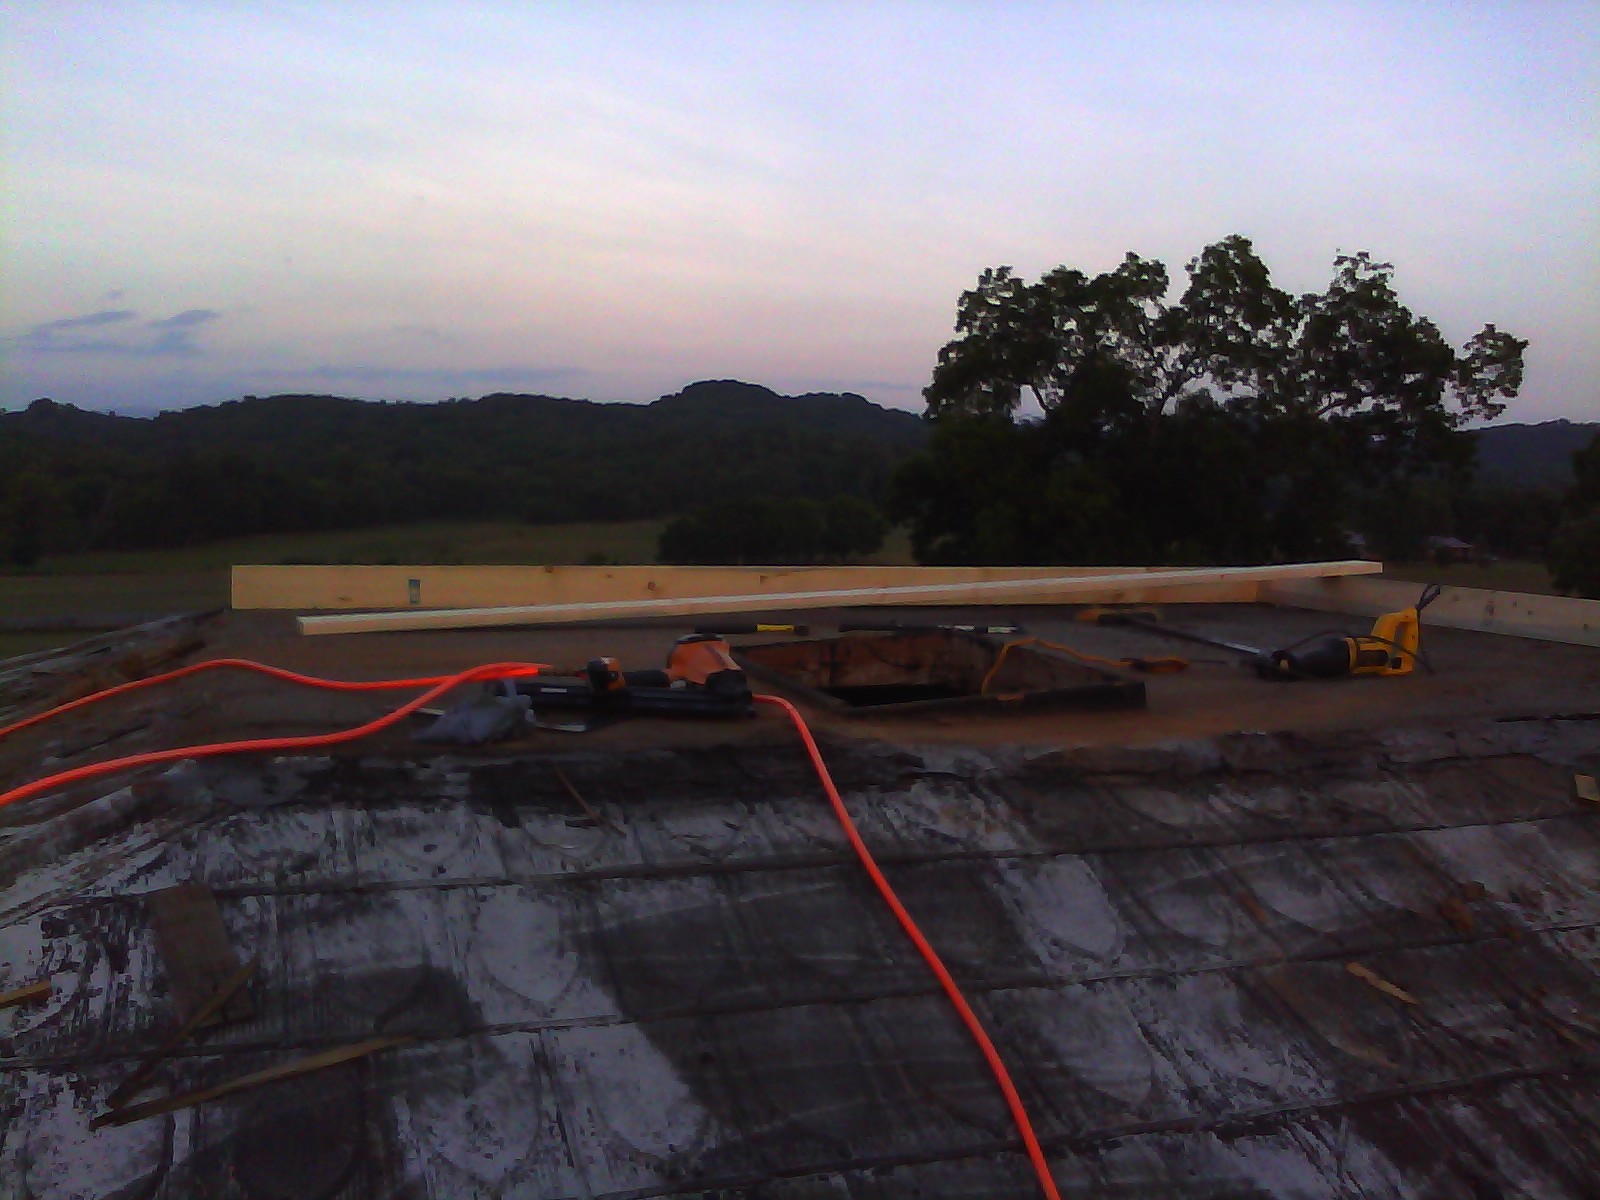
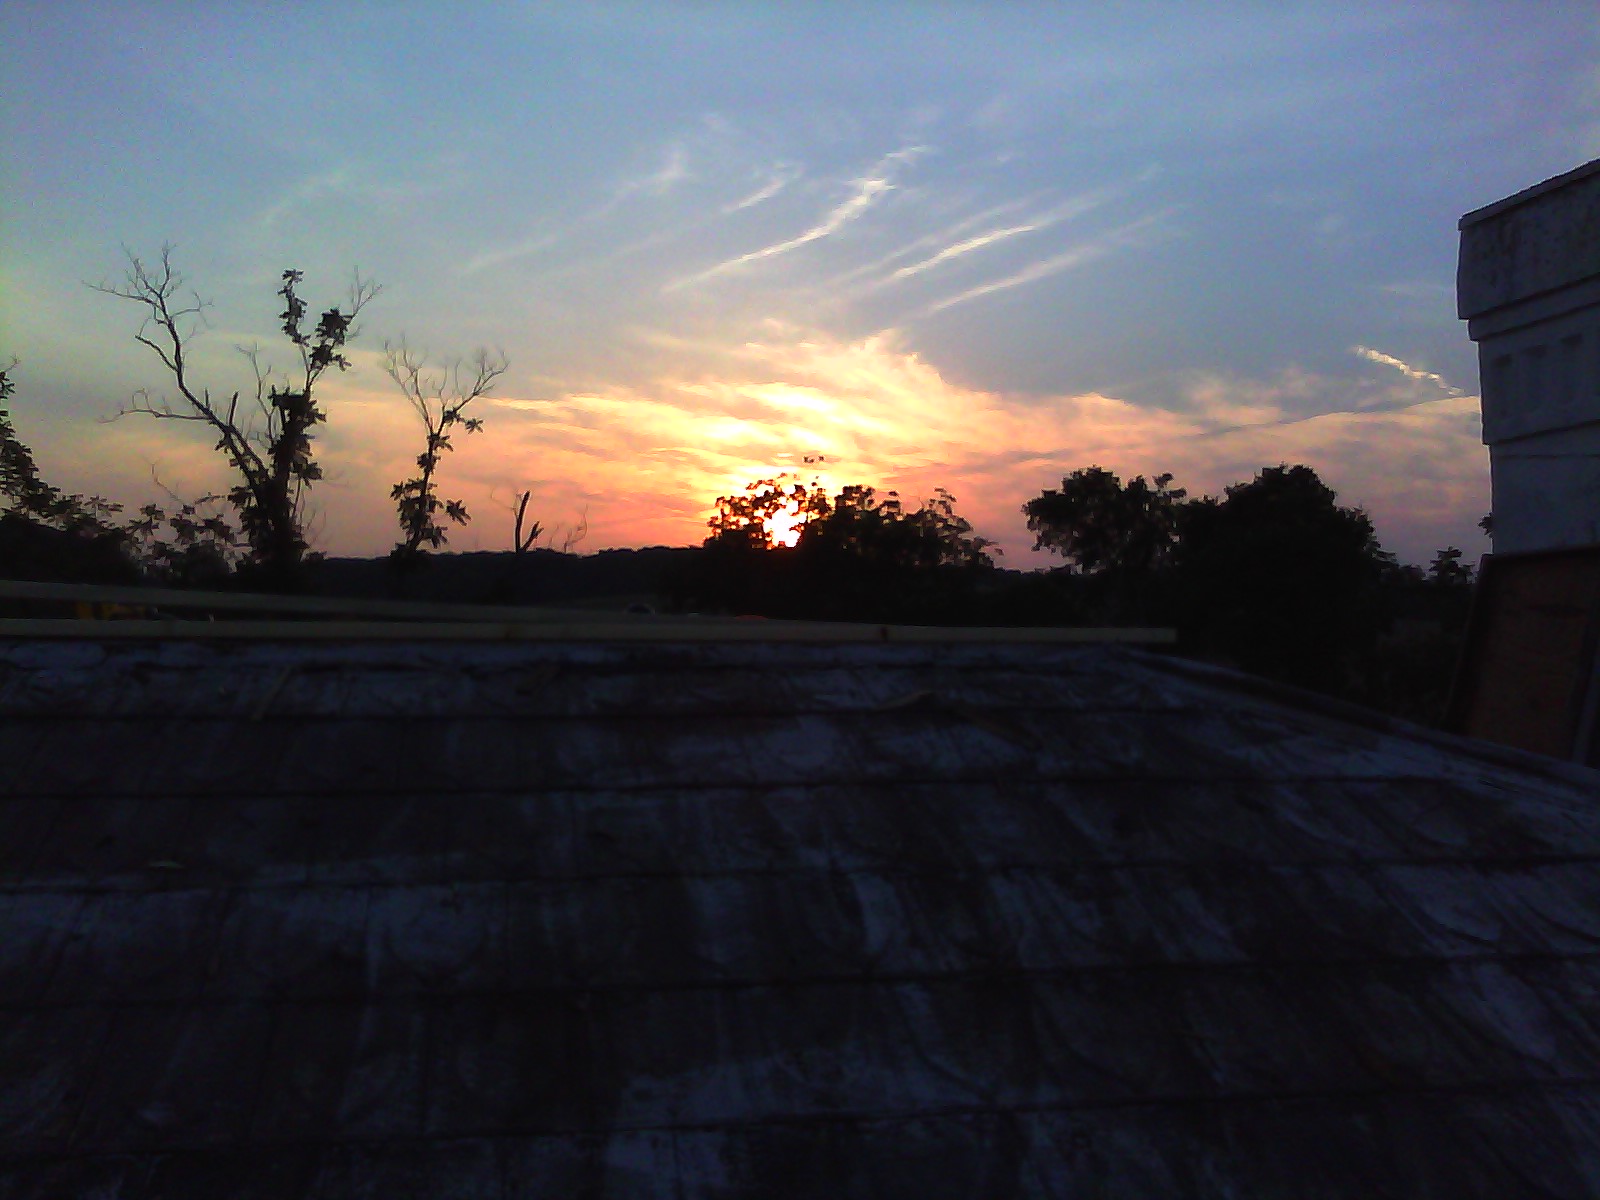
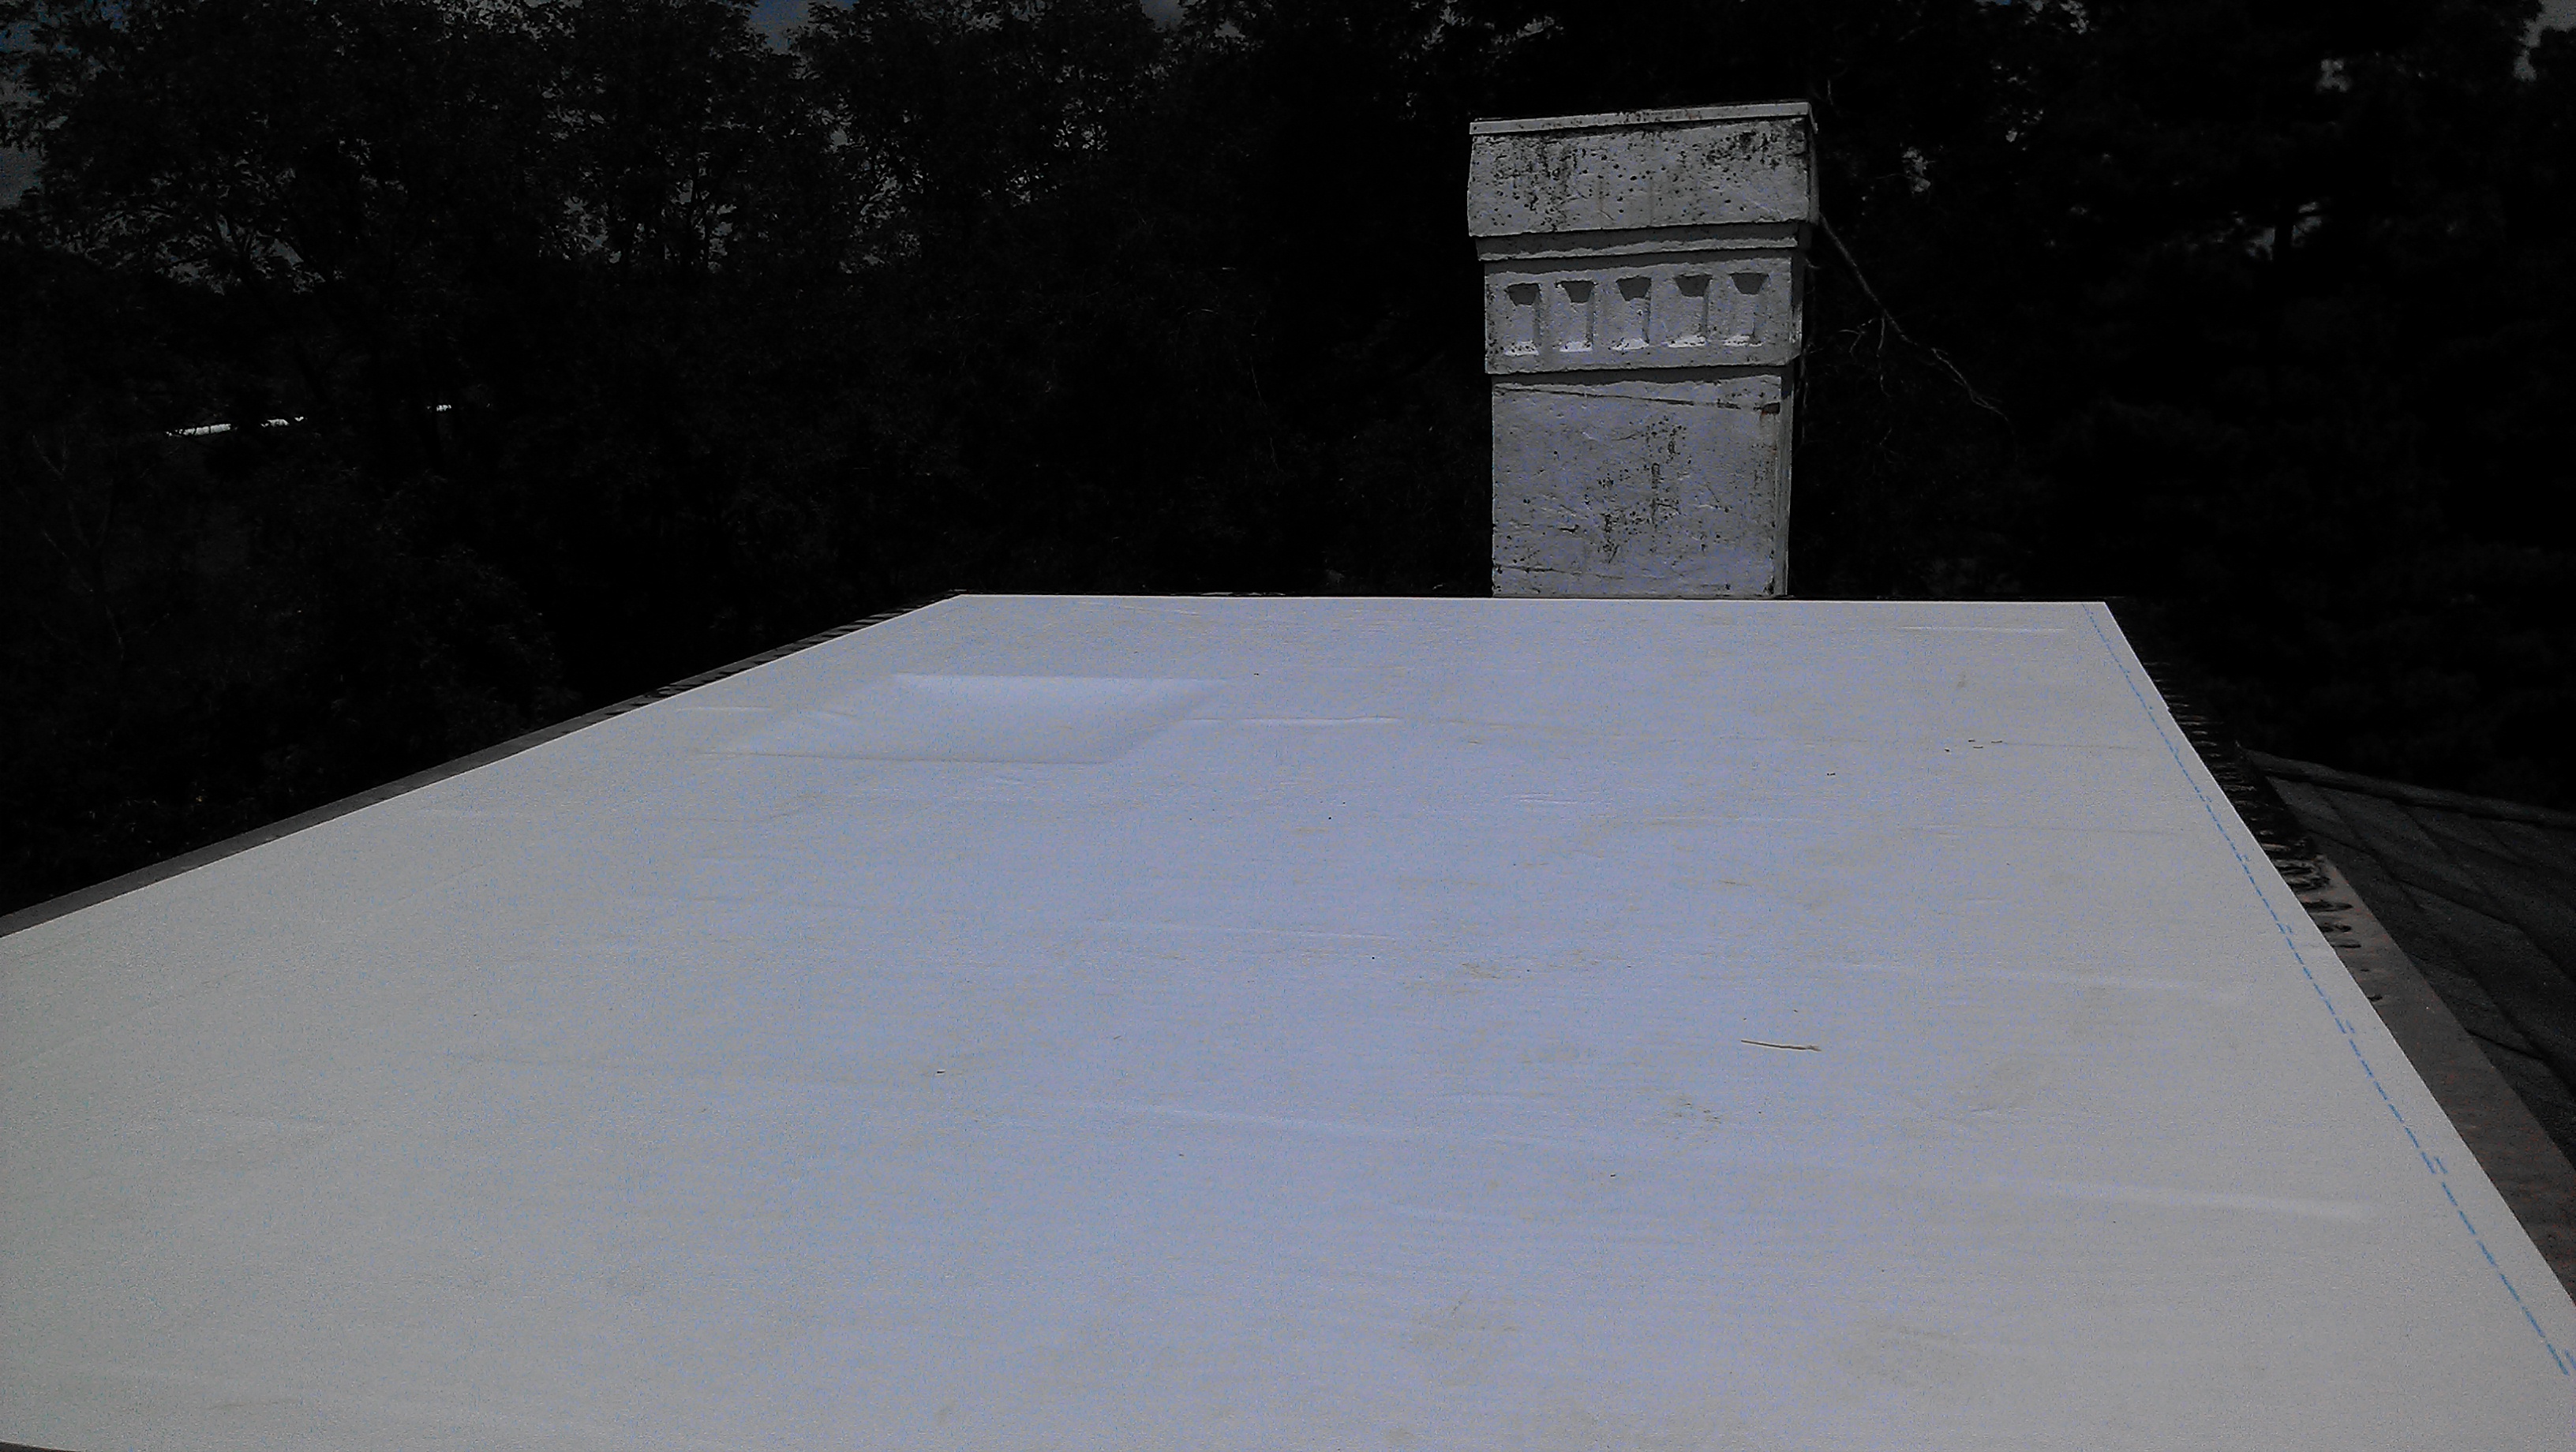
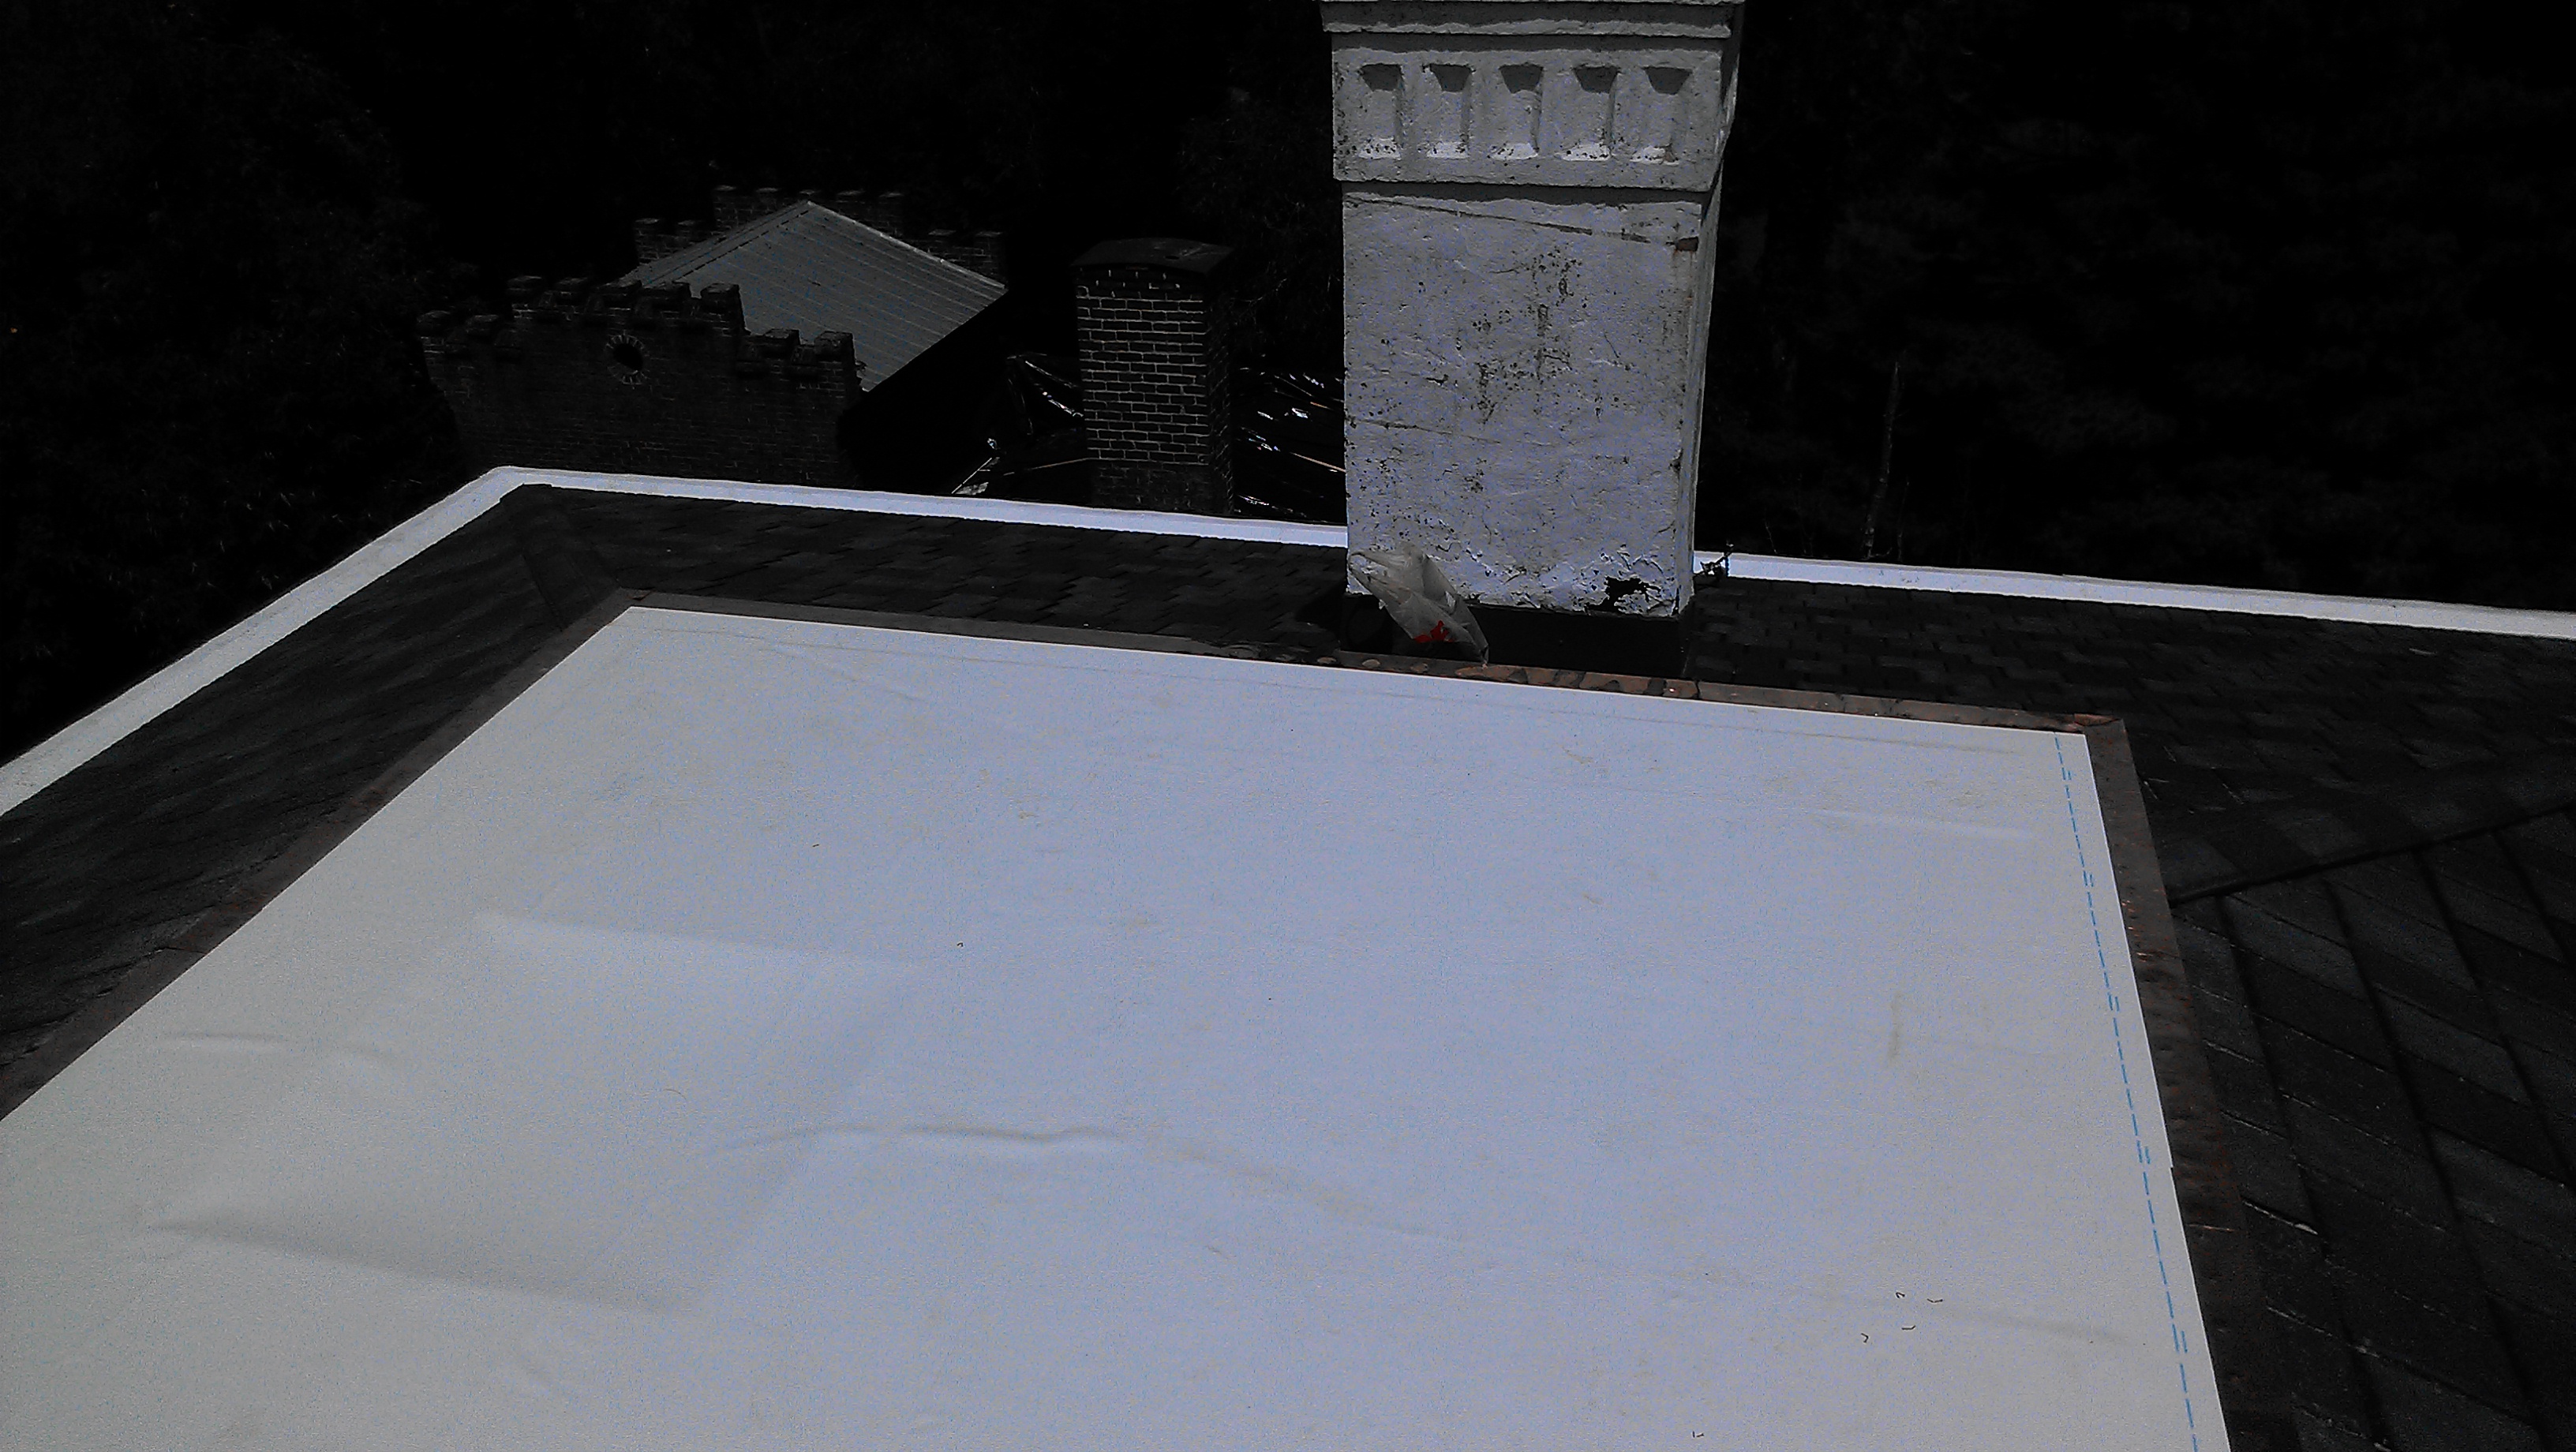
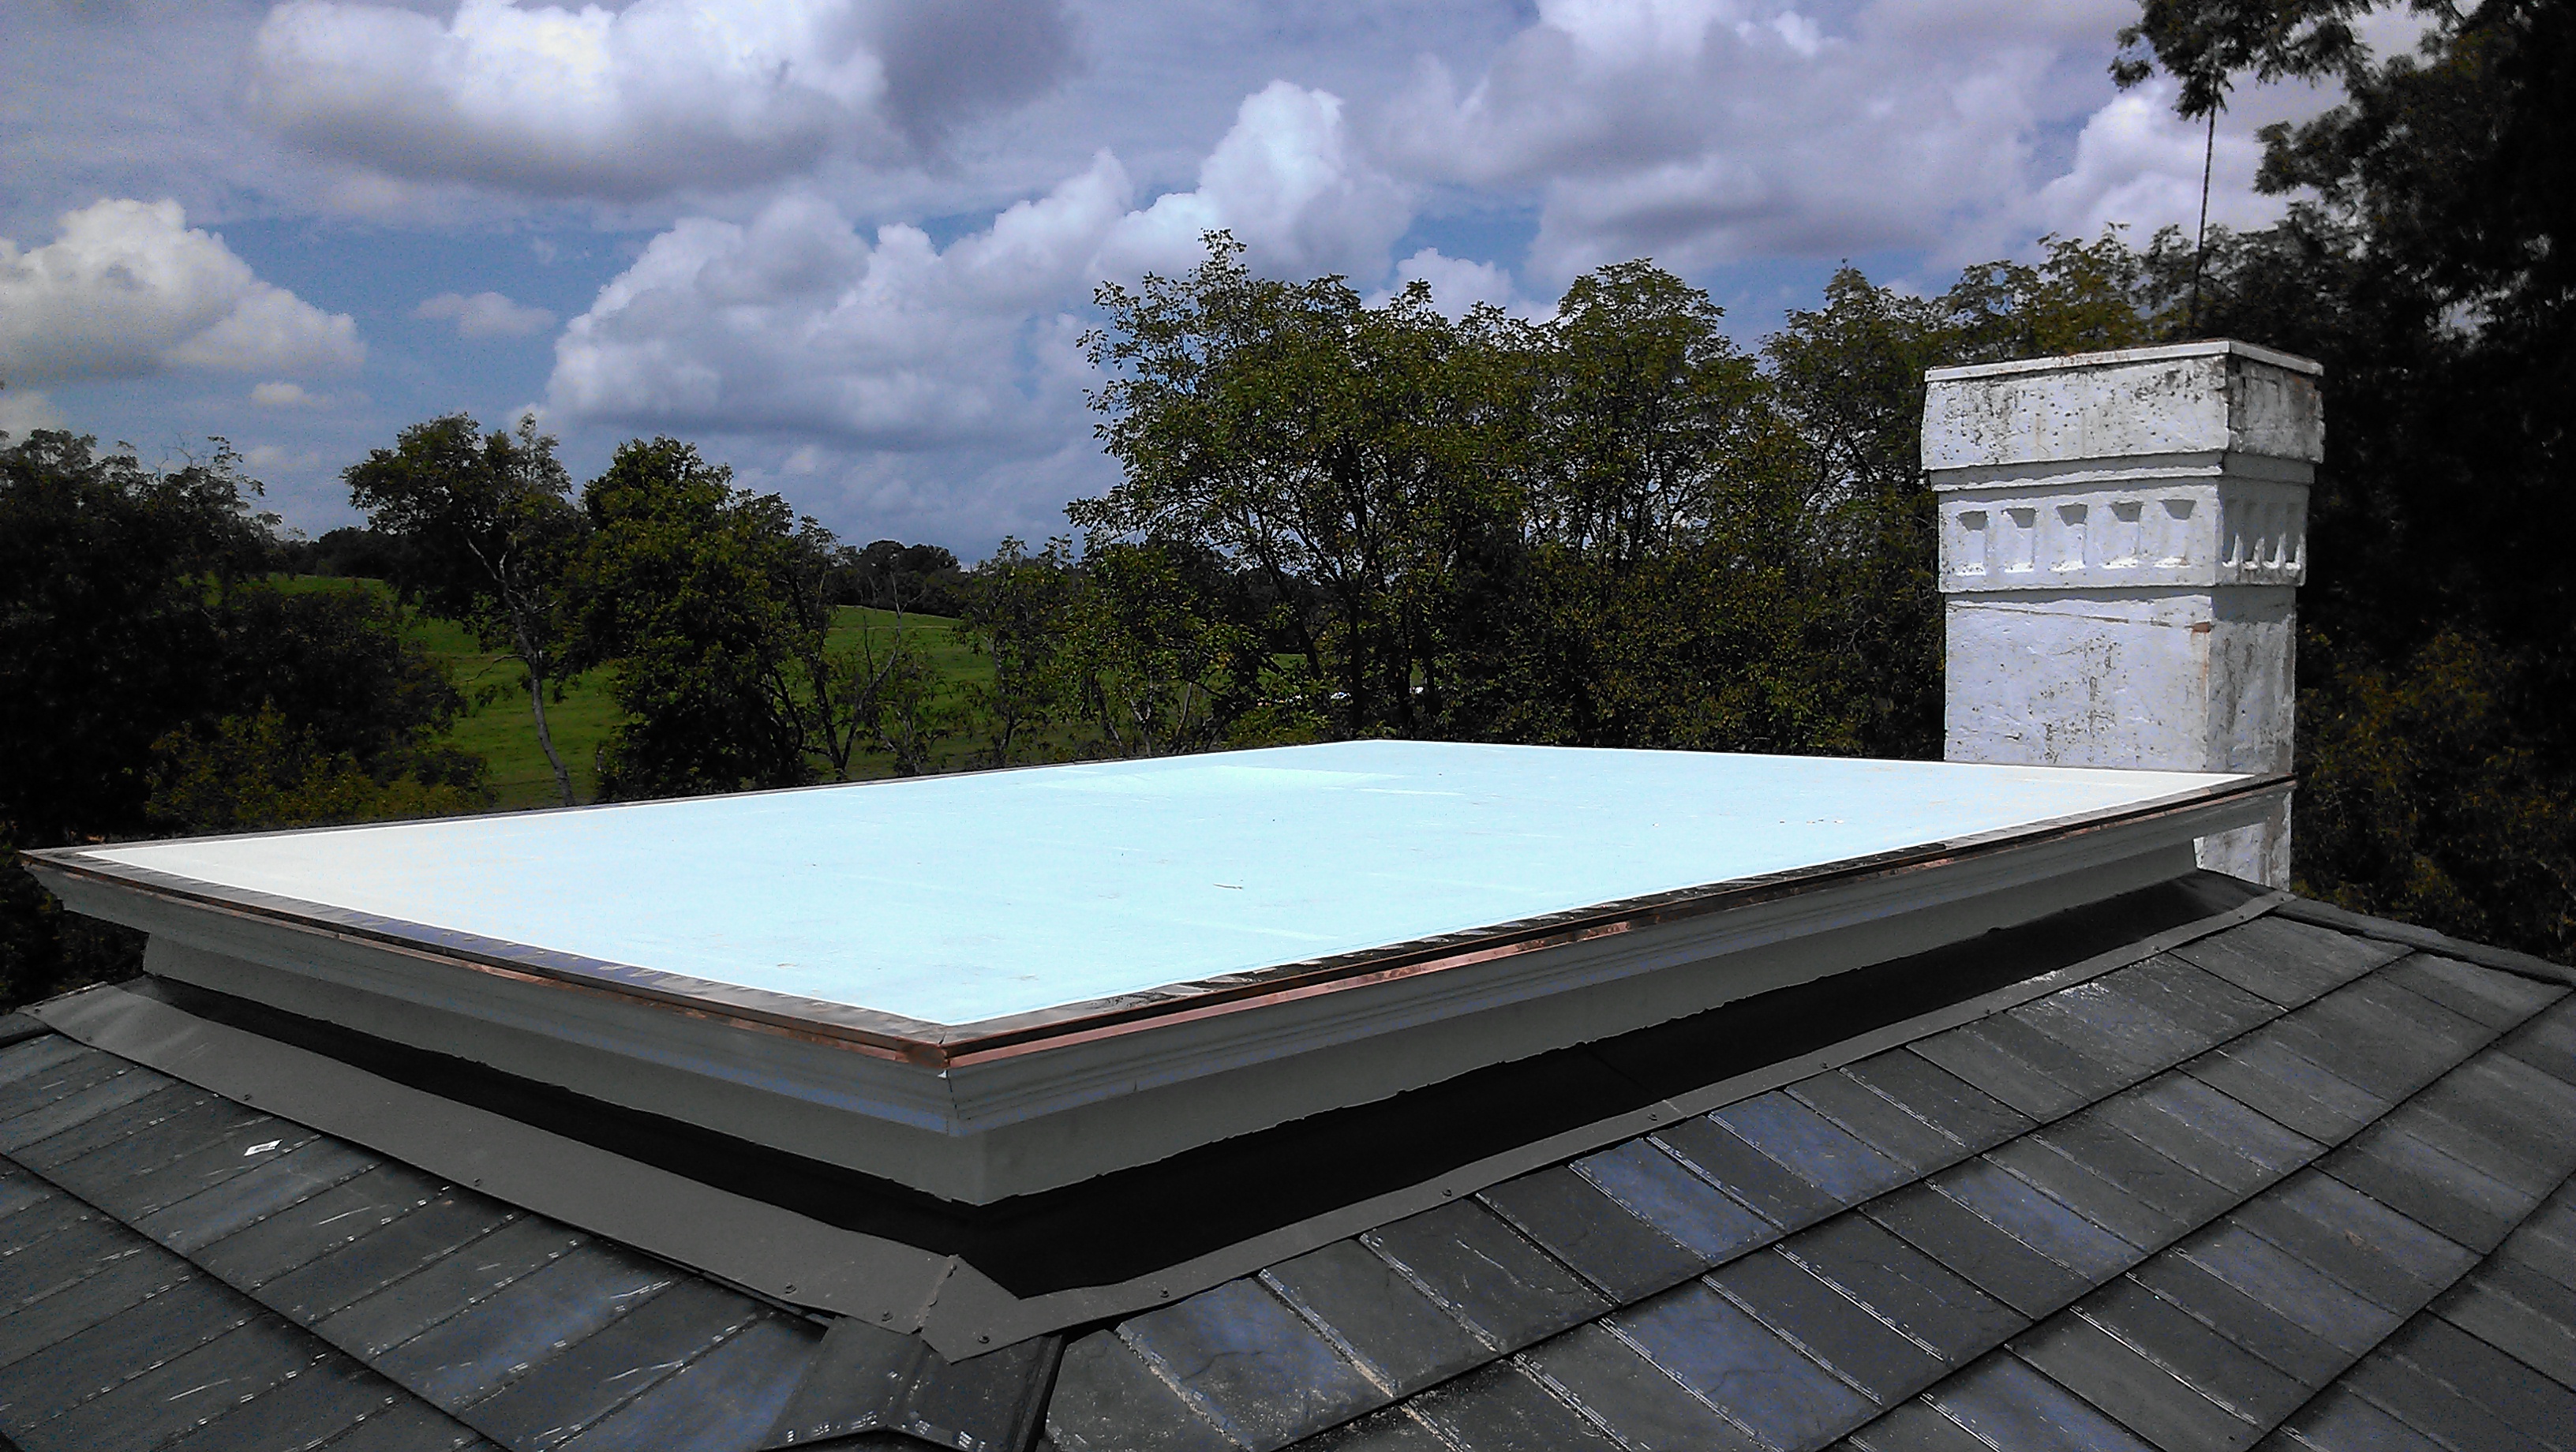
Most of the pictures below are of the “widow’s walk” platform. Due to rot and ventilation issues I had to remove the previous platform and rebuild it. On top I put a grid system of joists to allow free flow of air from all sides with eaves and soffit vents where there had not previously been any. On top there is white EPDM rubber membrane with a copper drip edge over shingle moulding to match the drip edge of the box gutters.